Self leveling concrete is gradually becoming popular in big construction projects as well as DIY ones. It can be a fast and cost-effective solution to the problem whenever one needs to repair, smooth, or raise a floor. However, achieving professional results requires careful preparation and execution. This blog provides an easy self leveling concrete installation guide for users. For more information on the global self leveling concrete market, kindly visit Coherent Market Insights’ recent report.
How to Install Self Leveling Concrete
Although using self-leveling concrete is easy, several things need to be done to ensure a flawless finish. Some of the steps one needs to follow while using SLC include:
Step 1:
Surface Preparation for Self Level Concrete:
- Ensure the substrate is clean.
- Remove weak or loose materials that could compromise adhesion.
- Fill big holes or cracks with suitable patching materials.
- Apply a compatible primer.
Best Practices for Concrete Leveling: Conduct a moisture test using tools like a hygrometer. Similarly, use a double-coat primer on porous surfaces like concrete or wood to ensure a flawless surface finish.
Step 2:
Mixing Self Leveling Concrete:
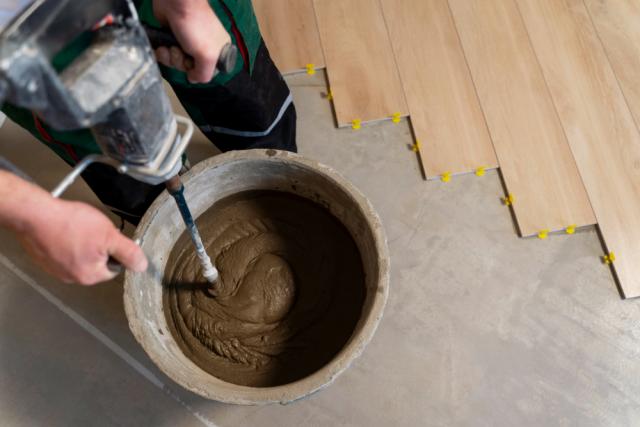
- Use a clean mixing bucket and a drill with a mixing paddle.
- Follow manufacturer’s instructions for measuring SLC and water content accurately.
- Ensure creation of a proper self leveling concrete mixing ratio.
- Pour the required amount of water into the bucket and add SLC powder.
- Mix thoroughly for a few minutes.
- Check that the desired consistency is attained.
Best Practices: Try to mix small batches to avoid material setting before application. Also, avoid overmixing to prevent air penetration into the compound.
Step 3:
Pouring of SLC:
- Pour the mixed concrete onto the floor carefully, starting from the farthest point in the room, and work towards the exit.
- Use a smoothing trowel or gauge rake to distribute the concrete evenly.
- Allow the concrete to glow naturally to fill low spots and level out the surface.
- Remove air bubble for a smoother surface finish.
Best Practices: Work steadily and efficiently to ensure a consistent thickness across the surface. Also, avoid spilling the mixed SLC towards protected areas.
Step 4:
Finishing:
- Perform a final check with a trowel or some other equipment to address remaining inconsistencies.
- Protect the surface from dust and foot traffic during the curing time.
- Follow the manufacturer’s recommended curing time before installing floor coverings.
- Finally, apply a sealer to enhance durability and protect against wear or stains.
Best Practices: Maintain a stable environment with optimal temperature to prevent shrinkage or cracking. Users can also employ curing covers in extreme conditions to protect the surface.
Tips for Self Leveling Concrete:
- Choose the right type of self leveling concrete.
- Read and follow the manufacturer’s instructions without skipping any step.
- Ensure that you mix proper amount of SLC powder and water.
- Do not mic products in extreme cold or heat.
- Keep all your tools and supplies ready before pouring the SLC mixture.
- Work in sections for larger areas to maintain control over the application.
- Clean buckets and other tools immediately when you are done.


